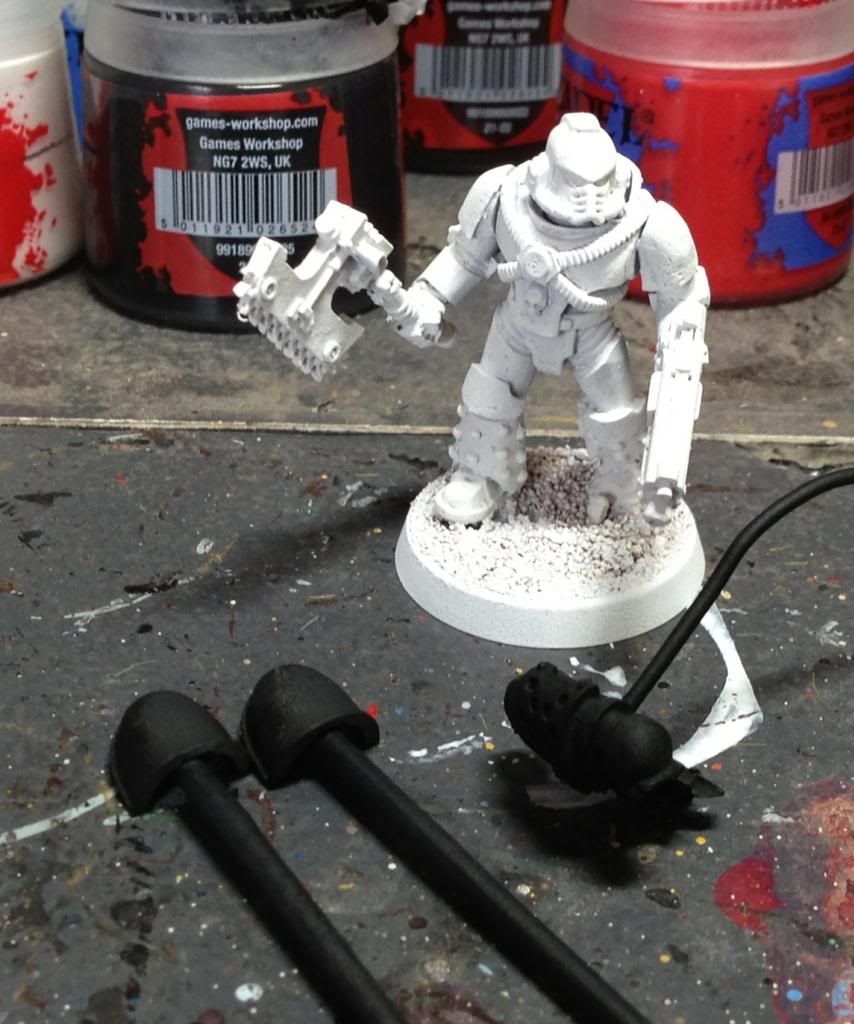
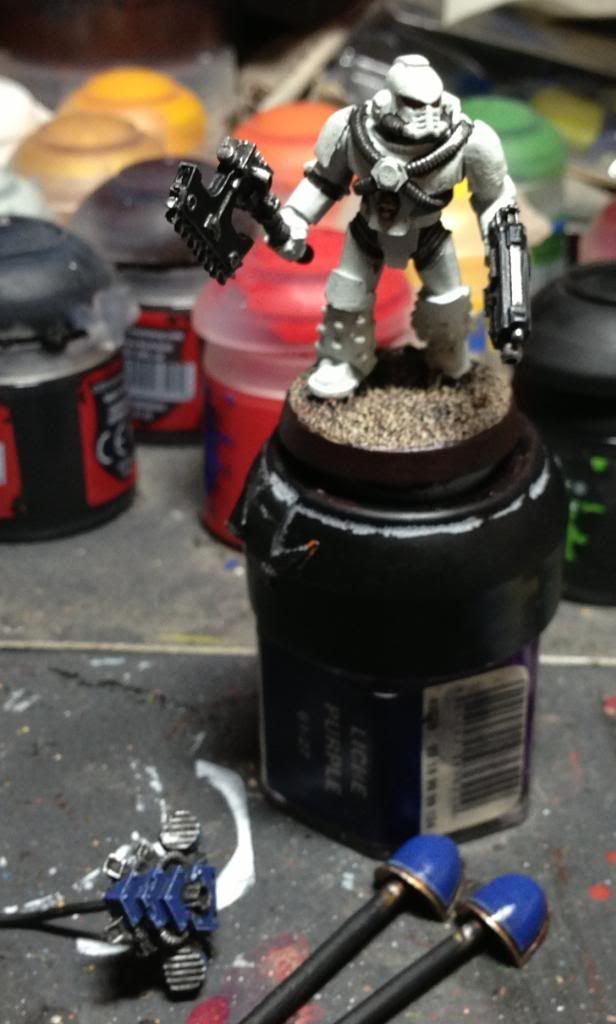
As you can see from this picture the mini has been built,
based and undercoated. The main body has been undercoated white while the
shoulder pads and back pack have been undercoated black. You’ll notice that the
shoulder pads have been stuck to cocktail sticks and the back pack has had a
hole drilled and paper clip glued in place.
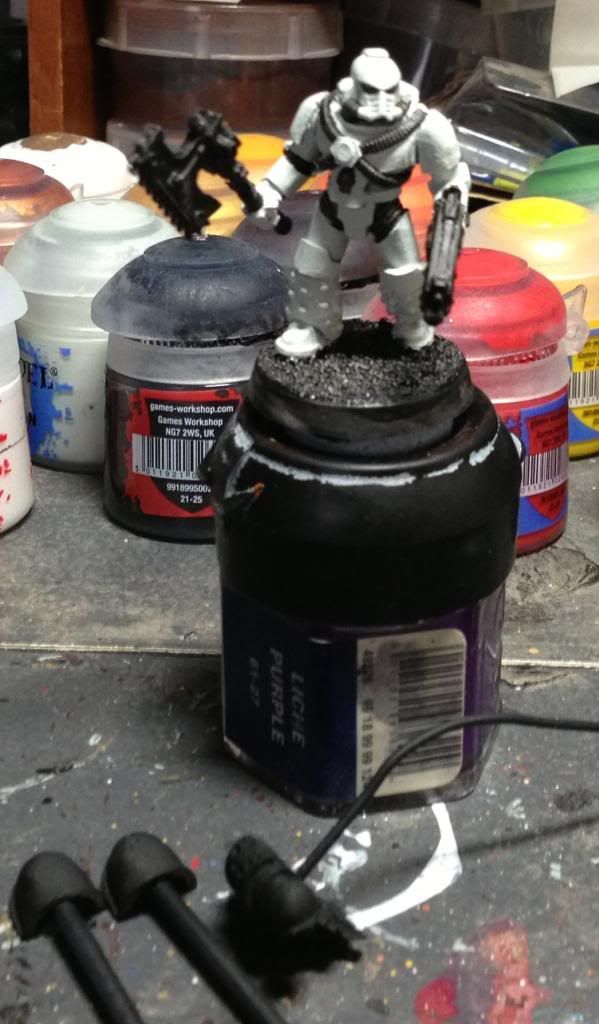
The first thing I then do is base coat the whole mini with
Ulthuan Grey and black out the areas that aren’t going to be white. Don’t work
about any mess at this point as it’ll be neatened up at the end.
The first colour I then put on is the blue. I use Macragge
Blue for this, the paint is watered down to roughly about 1 part water to 2
parts paint (1-2), this will need a couple of coats but gives a smoother
finish. Once that’s dry I apply a 1-2 mix of Abbadon Black- Macragge Blue,
watered down 1-1 this time, into the reccess’. The next thing I do is give a
single highlight of Fenrisian Grey watered down 1-1.
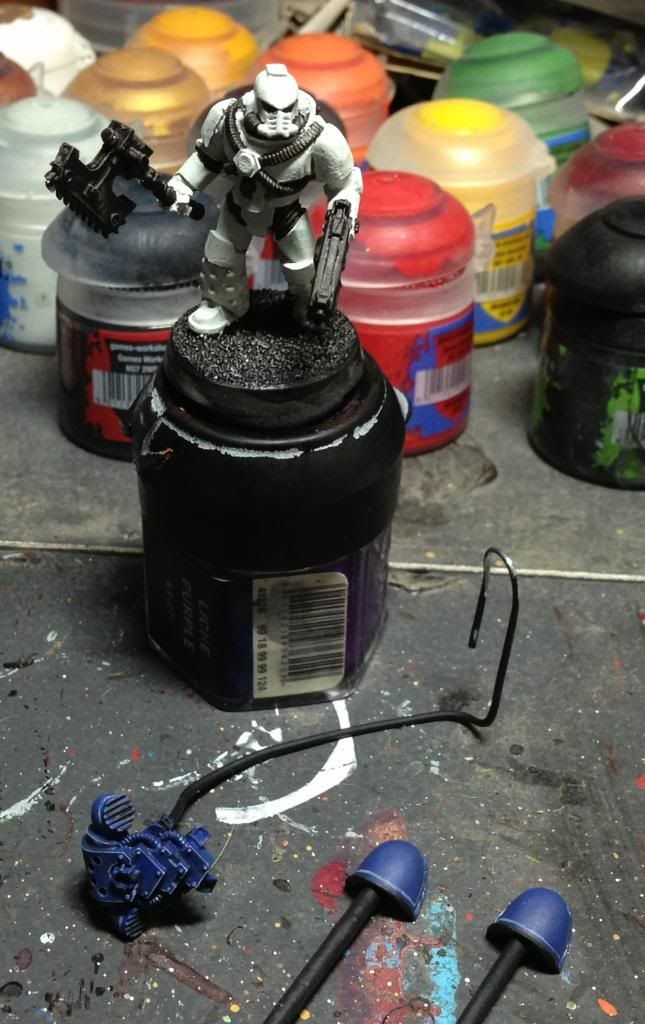
Next up are the metals, the silver is basecoated with
Leadbelcher. The gold has a Warplock Bronze base followed by Gehenna’s Gold,
this helps to give a nice solid gold colour. All colours are watered down
around 1-2. Once both are dry the silver is given a wash of Nuln Oil and the
gold a wash of Agrax Earthshade. I give a fairly heavy application of both
washes as it helps to add definition, just be careful not to put too much on so
that it pools and sits too heavy on top of the colours.
 Whilst the washes are drying I get the bases done, I use a
small drybrush to do this, first the base is overbrushed with Mournfang Brown,
by over brushing I mean that the paint is still wet and just brushed over the
base so it won’t sit in the dips etc. Once the first colour is dry I then do
the same with Ushabti Bone and paint the rim with Rhinox Hide.
Whilst the washes are drying I get the bases done, I use a
small drybrush to do this, first the base is overbrushed with Mournfang Brown,
by over brushing I mean that the paint is still wet and just brushed over the
base so it won’t sit in the dips etc. Once the first colour is dry I then do
the same with Ushabti Bone and paint the rim with Rhinox Hide.
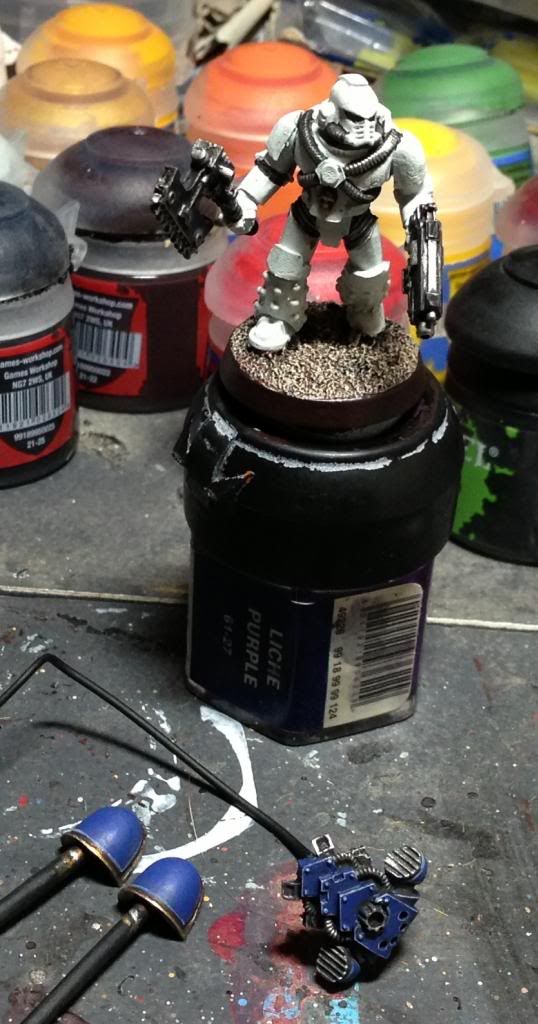
Once the washes are dry I then highlight the gold with Auric
Armour Gold followed by Runefang Steel, I also
highlight the silver with this at the same time, again all paints are roughly 2-1
mix with water.
The eyes and any pouches are then done. The eyes are done in
3 stages first Khorne Red, followed by Evil Sunz Scarlet and then Fire Dragon Bright. The pouches are basecoated Rhinox
Hide and given 2 successive highlights adding a little White Scar to each one
in turn. After this the black is done, it’s neatened up with Abbadon black and
given a single highlight of Mecharius Standard Grey. You'll also notice that I've added a layer of gloss varnish on the shoulder pads, this will help the transfers get a smoother fit later on.
That’s the mini pretty much ready for the white to be
painted. The first thing I do is apply a 1-1 mix of Agrax Earthshade into all
the reccess’ and then neaten up any mistakes with Ulthuan Grey, I then apply a
single highlight of White Scar on all the edges and add a dot into the corners
of the eyes. With that the mini is
pretty much done. All that’s left to be done at this stage are the decals and
weathering.

Prior to the finishing touches I firstly remove the shoulder
pads from the cocktail sticks and the back pack from the paper clip and then
fully build the mini. The transfers are then trimmed from the sheets and sliced
in the areas that’ll help them fit better, this, along with the use of
Microset, helps them to adhere models very smoothly.
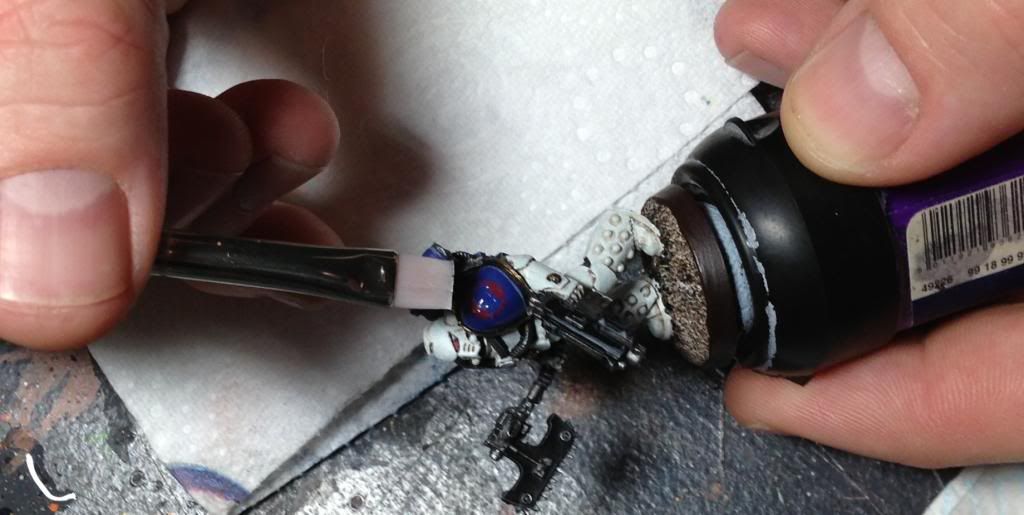
I then leave the Microset to dry, it’s useful to check it
every now and then as you can help to smooth them around shoulder pads etc. as
it dries. As you can see from the pictures I use a flat brush to do this with,
that’s the only job that particular brush has.
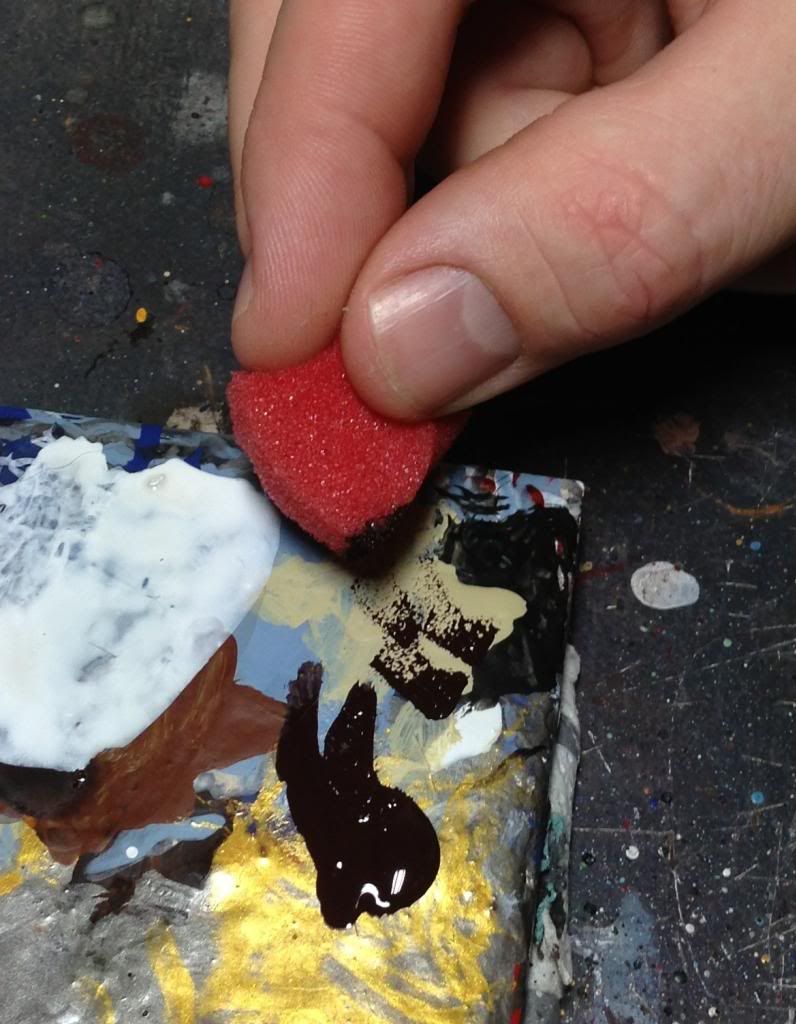
Next up is the weathering, using Rhinox Hide straight from
the pot, I get a bit of sponge, a scrap piece from a miniature case will
probably be the easiest to find, and just dab it into the paint, always make
sure to dab it on the pallet before touching the model with it as you don’t
want to put to much on and ruin things when you’re almost done.
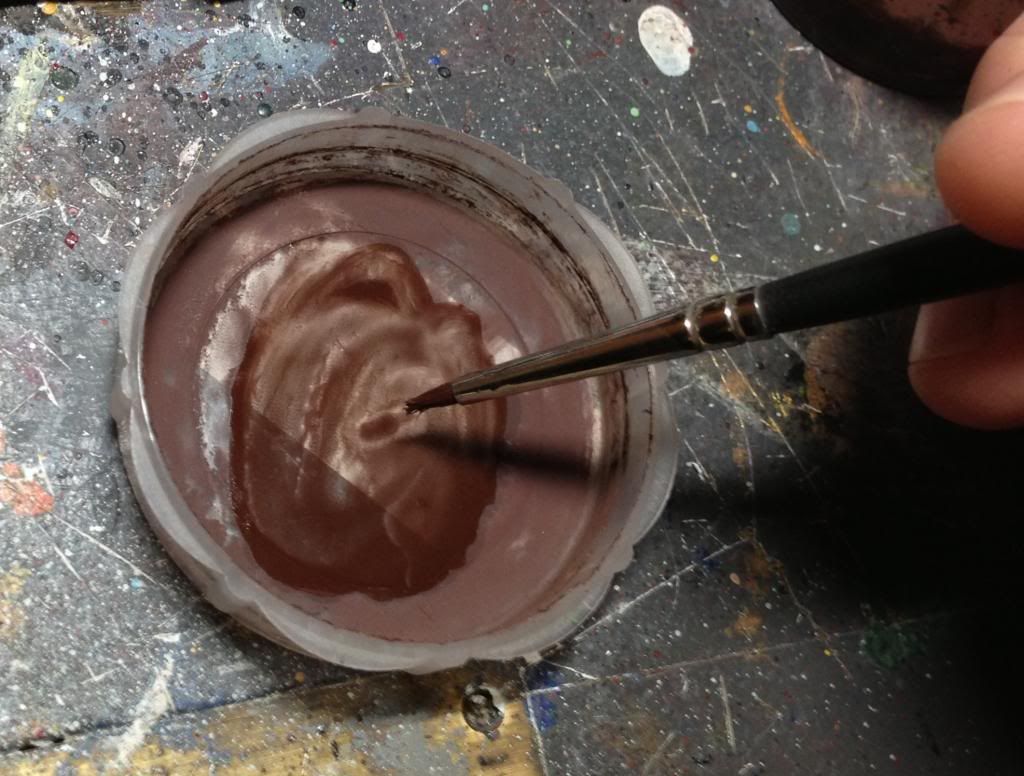
Once I’ve done the chipping I then add a bit of blood
splatter, for this I add some Tamiya Clear Red to Rhinox Hide until I’m happy
with the look of it and then just liberally apply it to the mini where I think
it should be. The thing I’ve found with the Tamiya red is that it starts to dry
up pretty quickly and you almost get a congealing effect that you can move
around with your brush, just don’t use a brush that you intend trying to get
back to a point afterwards, I generally just use my mixing brush for this.
 All that’s left to do is add a dot of grass to the base,
really simple, a small dot of green paint where you want the grass to go, drag
the base though a tub of flock, allow to dry and blow any excess off. Then give
a spray of Varnish/Seal, I use Testors Dullcote, it’s tried and tested, I’ve
been using it for the best part of ten years. And then that’s the model all
done.
All that’s left to do is add a dot of grass to the base,
really simple, a small dot of green paint where you want the grass to go, drag
the base though a tub of flock, allow to dry and blow any excess off. Then give
a spray of Varnish/Seal, I use Testors Dullcote, it’s tried and tested, I’ve
been using it for the best part of ten years. And then that’s the model all
done.
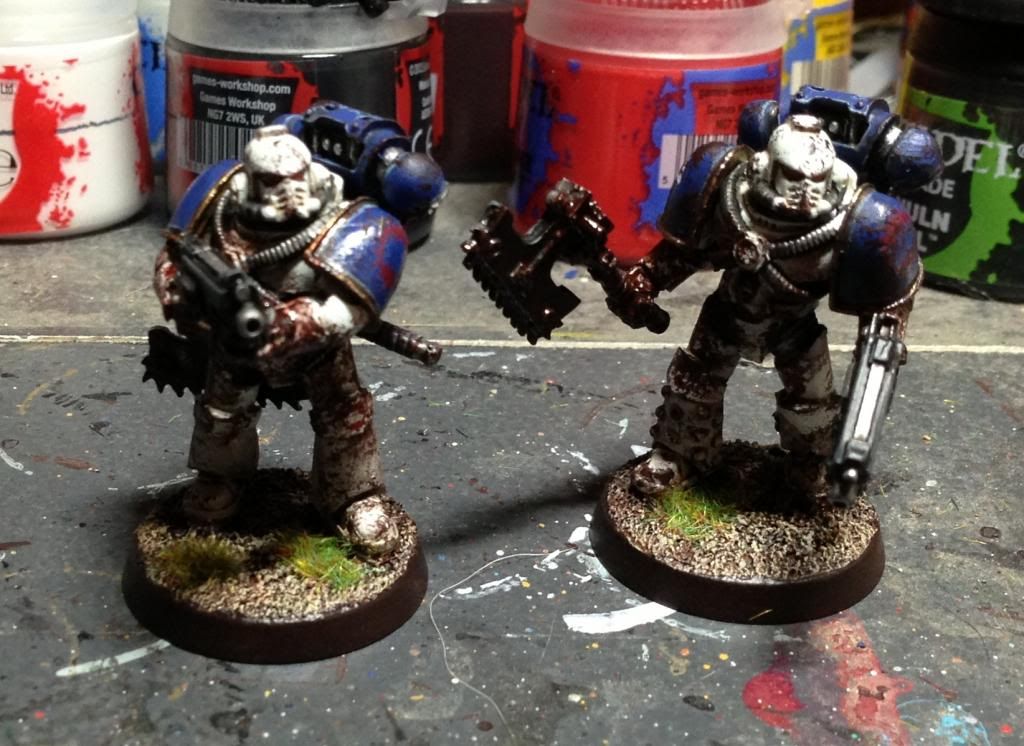
In this picture you'll notice a couple of things, firstly there are 2 marines, throughout the painting of this force I've always done the basic marines in pairs. Due to the small areas of colour I think this just makes sense and it definitely helps with getting things done in a more timely manner, in reality this probably adds 45 minutes on to what is generally a 2-3 hour job so you end up saving yourself a couple of hours painting time per pair overall. Secondly, this pair haven't been varnished yet, I do this in bulk so once I've got 10 or so done, this saves you paint as it means you're not wasting as much through over spray.
You’ll notice throughout the post that I’ve kept a lot of
the colours very basic in their colour transition, this is pretty much all due
to the fact that they are getting weathered a fair amount. It’s all about
understanding what the final product is going to look like, I’ve seen painters
in the past spending a long time painting details, going through a lot of
highlight stages only to then weather their model and pretty much spoil all the
effort they’ve put in. So really I guess what I’m saying is think about the end
product prior to starting anything you do, you’ll save loads of time.
Hopefully you’ve found this helpful, please leave feedback
as I’d like to do more of this type of thing as I go through different armies
etc.
In other news, I’ve got my Games Day Ticket for this year,
currently contemplating Golden Daemon just not sure what to do at all. Looking
at the FW Terminator Praetor or the new GW Lord Executioner, I’ve always fared
a bit better at squad though. So, just not sure at all…… Ultramarines assault
command squad?
That was really interesting thanks James!
ReplyDeleteI always thought you used metallics for the weathering - I guess it looks that way as the Rhinox shade is close in tone to the dark gold/bronze you have.
Very simple and informative I guess I have no excuses for my Night Lords now!
Nicely done mate, clear instructions and pictures. Would certainly be interested in future tutorials.
ReplyDeleteVery interesting walkthrough! Thanks for doing this
ReplyDeletedefinitely a winner! you make it seem so simple, great tutorial, very concise. looking forward to more!
ReplyDelete